
Erin Hallett, Beauty Editor.
There is a particular moment at the bathroom mirror most of us know well: foundation patchy along the jaw, a sponge sitting dry and stiff in the cup by the tap, and the nagging sense that everyone else somehow gets a finish that looks like skin rather than paint. The drawer underneath is worse, half a dozen sponges in various states of greying, a few still in their plastic wrap because the first attempt went badly and they got shelved.
A blending sponge is a simple tool but an unforgiving one. Used dry, most formulas sit on top of it and get pushed around the face rather than pressed in. Used wet, the same sponge swells, softens and starts doing the job it was designed for. That one fact, that water changes the tool’s behaviour almost entirely, is the thing most beginners never get told, and it explains nearly every bad result and every fix in this guide.
- Wet the sponge properly before use: a dry sponge absorbs product instead of applying it, which is the single biggest reason foundation looks patchy or heavy.
- Bounce, don’t drag: a stamping motion presses product into skin’s texture, while dragging or rubbing simply pushes it into fine lines and pores.
- Clean it after every two to three uses: a sponge left dirty is less about aesthetics and more about bacteria build-up on a tool that sits directly on skin.
Why The Sponge Matters More Than The Formula
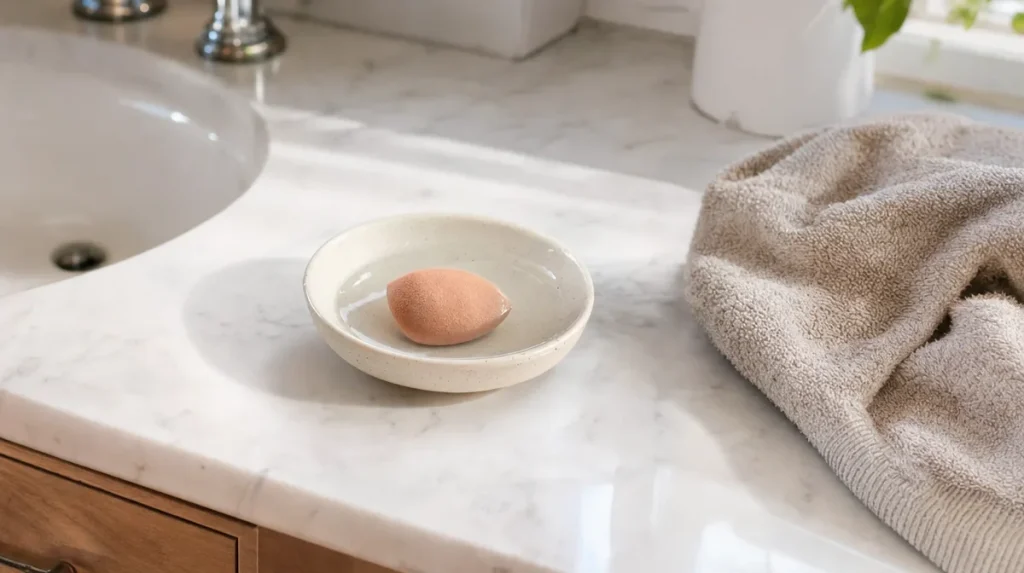
Most people blame their foundation when the finish looks wrong. Often the real culprit is the applicator.
Think of a sponge like a kitchen cloth. A dry cloth smears a spill around the bench; a damp one lifts it and leaves the surface clean. A makeup sponge works the same way. Dry, its open-cell structure acts almost like a sponge in the literal sense: it soaks up liquid or cream product rather than depositing it on skin. Wet, the cells are already full of water, so the product has nowhere to go but onto the face.
A 2019 study in the International Journal of Cosmetic Science comparing synthetic sponge application to finger and brush application found that dampened sponge application gave more even product distribution and thinner overall coverage, meaning less product sits on the skin’s surface for the same visual result. Less product generally means a more natural finish and less chance of the makeup looking cakey by midday.
This is also why two people can use an identical foundation and get completely different outcomes. The bottle is only half the story. The tool decides how that formula sits on the skin, how much of it stays on the face versus in the sponge, and whether the final look reads as skin or as product.
Wetting It Properly, Not Just Splashing It

The instruction “use it damp” undersells how much water a sponge actually needs.
A dry sponge is roughly half its working size. Submerged fully under a running tap or in a bowl, most synthetic sponges roughly double in volume as the material expands. Squeeze it gently in a towel afterwards, the way you would wring out a cloth, until it stops dripping but still feels cool and heavy in the hand. That is the correct state: saturated, not soaked, not merely misted.
A common mistake is spritzing the surface with a setting spray and calling it done. This dampens the outside only, leaving the sponge’s core still dry and thirsty, so it keeps pulling product in rather than laying it down. The fix takes under a minute: wet fully, squeeze out excess, then apply.
Self-test: press a dry sponge and a fully wet one against the back of your hand with the same amount of foundation. The dry one will leave a thin, uneven film and absorb visibly more product into itself. The wet one deposits more evenly and the sponge stays relatively clean. Repeating this once teaches the difference faster than reading about it.
The Bounce, Not The Wipe
Dragging a sponge across the face is the most common technique error, and it comes from habit: most of us learned to blend with fingers or a flat brush, both of which work by sweeping.
A sponge works by stippling. Press it into the skin, lift, move a fraction, press again. Imagine dabbing a stamp onto paper repeatedly rather than painting a line with a loaded brush. The rounded tip is shaped for pressing into the contours around the nose and under the eyes, areas a flat sweep tends to miss or cake up.
Dragging does two unhelpful things. It pushes product into fine lines and open pores, making them more visible rather than less, and it can pull at the skin itself, which over years of repeated friction is not something dermatology literature treats as trivial for skin around the eye area specifically, where skin is thinner.
The pointed end of a standard teardrop sponge is for precise areas: under the eyes, around the nostrils, the corners of the mouth. The rounded body is for cheeks, forehead and jaw, where broader coverage is needed. Using the wrong end for the wrong area is a small thing that makes a visible difference once you notice it.
How Much Product The Sponge Actually Needs
Because a wet sponge is efficient, it needs less product than most people instinctively use, particularly with liquid or cream foundation.
A reasonable starting point for the face is a coin-sized amount, less for cream products, which are more concentrated. Apply in thin layers and build coverage where needed rather than loading the sponge once and trying to spread a large amount evenly. Thin layers dry and set more naturally, and they are far easier to correct if the colour match is slightly off.
The mistake to watch for is treating the sponge like a brush and reloading constantly without checking how much is already on the face. This leads to the familiar problem of makeup looking fine in the mirror at 8am and heavy by lunchtime, because too much product has been pressed into the skin and has nowhere to settle evenly.
A quick gauge: if the sponge is leaving visible texture or a slight sheen on the skin immediately after blending, there is too much product on it. Dab the excess onto the back of the hand before continuing.
What Realistic Results Look Like, And When To Judge Them
Foundation applied with a sponge generally needs a minute or two to settle before it can be fairly judged. Immediately after blending, most formulas look slightly more matte or slightly more dewy than they will once the product has had a moment against the skin’s natural oils and temperature.
A fair test is to blend, wait about two minutes, then check in daylight rather than bathroom light, which tends to be warmer or cooler than daylight and can distort how a colour match reads. CHOICE, the Australian consumer organisation, has long advised checking any colour-matched cosmetic product in natural light before judging the result, a principle that holds just as well for foundation blended with a sponge as it does for choosing a shade in-store.
If the finish looks patchy after two minutes, the issue is almost always technique rather than product: insufficient water in the sponge, dragging instead of stippling, or too much product applied in one pass. If it looks fine at application but breaks down by the afternoon, that points more towards skin type and oil production than the sponge itself, and a setting powder in oil-prone areas is the more relevant fix.
What Matters Versus What Is Marketing
Sponges are sold on shape, material, even colour, with claims that can outrun the evidence behind them.
Shape matters for access: a teardrop with both a point and a rounded body covers more of the face’s geometry than a plain oval. Material matters for how much product the sponge absorbs versus deposits, which is largely a function of cell density rather than brand marketing. Beyond that, claims about antimicrobial coatings or infused ingredients are harder to verify independently and should be treated as a bonus rather than a reason to buy.
Colour, pattern and packaging influence price but not performance. A sponge’s job is mechanical: hold water, release product evenly, reach awkward contours. Any sponge that does those three things adequately will give a comparable result to a far more expensively marketed one, a point echoed in general product-testing commentary from consumer bodies like CHOICE, which routinely finds that higher price does not reliably track with better real-world performance across cosmetic tools.
The genuinely useful differentiator is simply whether the sponge holds its shape after repeated washing. A sponge that collapses, tears or loses its bounce after a handful of washes is a false economy regardless of its original price point.
Cleaning It Properly, And Why It Is Not Optional
A sponge sits directly against skin and absorbs oil, product and dead skin cells with every use. Left damp in a bathroom, that combination is exactly the environment bacteria prefer.
The Australasian College of Dermatologists’ general public guidance on skincare hygiene notes that tools which repeatedly contact the face should be cleaned regularly to reduce the risk of transferring bacteria into skin, particularly relevant for anyone prone to breakouts. A sponge used daily without cleaning is, functionally, being pressed into fresh skin every morning while carrying several days of old product and oil.
Washing weekly, or after every two to three uses for daily wearers, with a mild soap or dedicated cleanser, worked through the sponge with warm water until the water runs clear, is sufficient for most people. Squeeze rather than wring to avoid tearing the material, and let it air dry fully before the next use, ideally not sealed inside a closed container while still damp.
A sponge that has gone grey, developed an odour even after washing, or started shedding small pieces of material has reached the end of its useful life. Most well-made sponges, properly cared for, last a few months of regular use before replacement is the sensible call.
Key Takeaways
A blending sponge rewards a little patience far more than it rewards a particular price tag. Soak it fully before every use, squeeze out the excess, and let the water do the work the sponge was designed for.
Stipple rather than drag, use the pointed tip for detail and the rounded body for broad coverage, and apply thin layers rather than one heavy pass. Judge the finish after a minute or two in daylight, not immediately under bathroom light.
Treat cleaning as part of the routine rather than an afterthought. A sponge is a tool that touches skin daily, and its condition matters as much as its shape or colour ever will.
A Quick Checklist Before You Start
- Wet the sponge fully under running water until it roughly doubles in size
- Squeeze out excess water so it feels damp, not dripping
- Apply foundation in thin layers, building coverage gradually
- Stipple in a pressing motion, never drag or wipe
- Use the pointed tip for under-eyes and nostrils, the rounded body for cheeks and forehead
- Check the finish after two minutes in natural daylight
- Wash the sponge every two to three uses and let it air dry fully
This article is general information only and does not replace individual advice from a dermatologist or qualified skin specialist.
Results from any makeup technique or tool may vary depending on skin type and individual application.